
What Is the Difference Between Start, Awake, and OnEnable?
Awake, OnEnable, and Start are lifecycle callbacks with different timing and purposes. Knowing the difference makes scripts reliable when objects are enabled, instantiated, or loaded from a Scene. The exercise toggles an object and logs the callback order. It leads to a practical rule: Awake for internal data, OnEnable for every enable, and Start for work that can wait until objects exist.
ASCENO / UNITY STUDY NOTES · 16
What Is the Difference Between Start, Awake, and OnEnable?
Start, Awake và OnEnable khác nhau thế nào?
The lesson starts with a direct Unity screenshot so the practical action is visible. The nine following figures are language-neutral illustrations; the bilingual text below them carries the explanation. The main topic is awake vs start unity. Figure 1 is practical evidence; figures 2–10 use only shapes, symbols, and visual relationships so they can remain unchanged across languages.
Learning goals
- Explain the concept with a model or data flow.
- Know exactly which Unity window to open.
- Predict the result before pressing Play and find evidence.
- Rebuild a small experiment and debug it methodically.
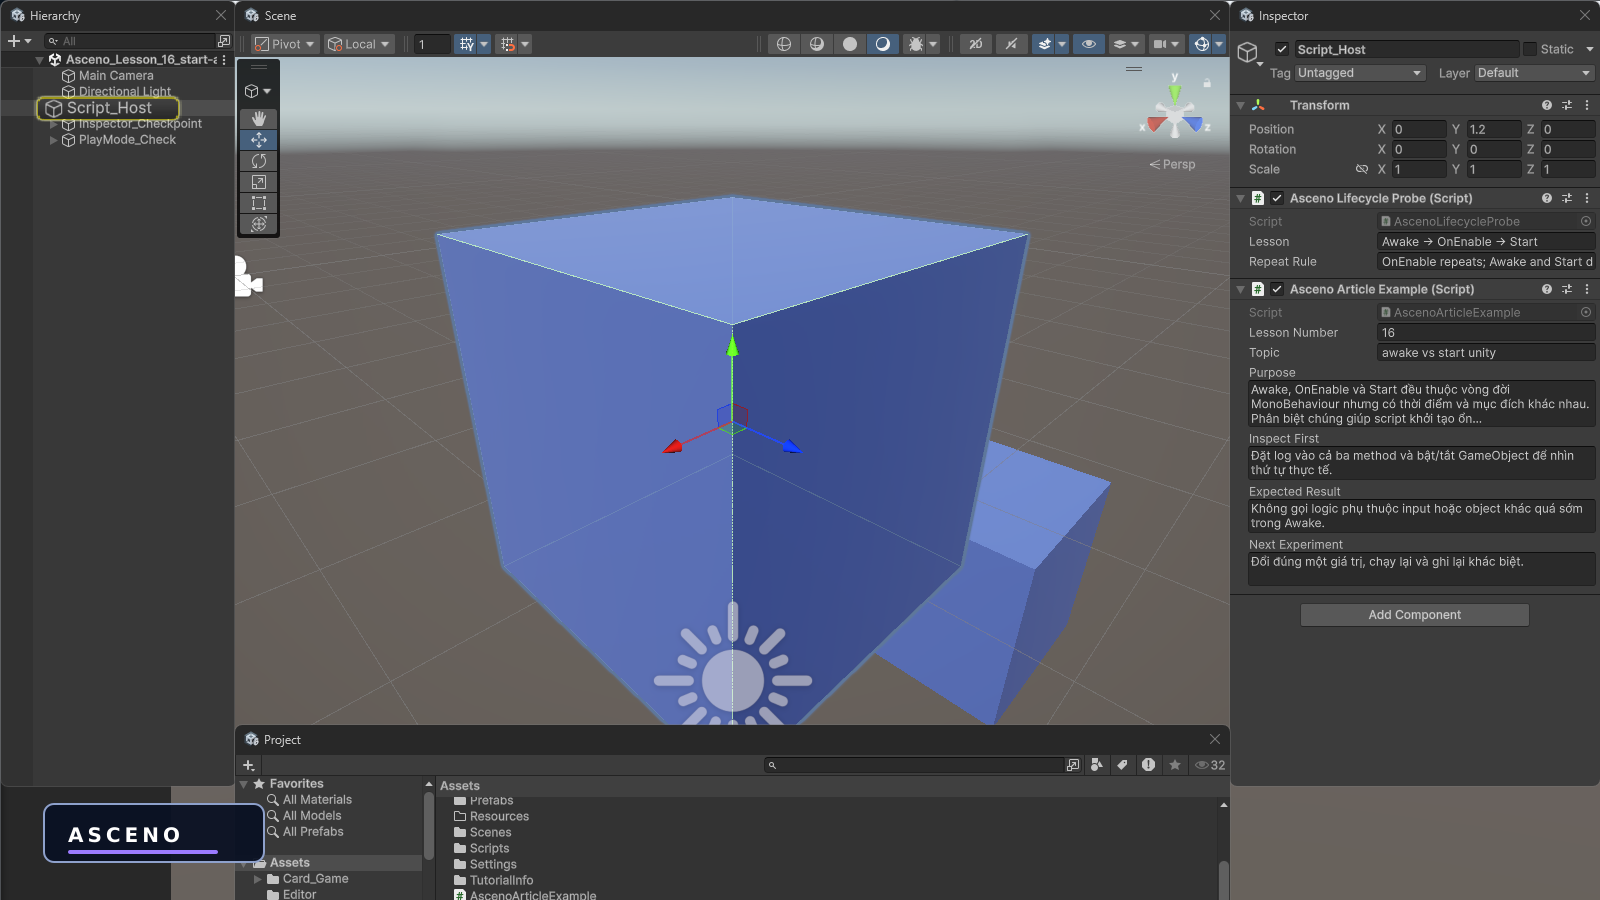
1. Hands-on practice in Unity
Open the test Scene, select the relevant object, and perform the action described in the lesson. This is a native Unity screenshot that shows where to begin; the steps and meaning are explained in the text below.
2. System illustration
Awake, OnEnable, and Start are lifecycle callbacks with different timing and purposes. Knowing the difference makes scripts reliable when objects are enabled, instantiated, or loaded from a Scene. The illustration below contains no language-specific text; read it together with this explanation and the concrete steps.
- Awake | once when the instance is created | cache components and prepare internal data | do not assume another object is ready
- OnEnable | every time the component becomes active | subscribe to events and enable listeners | pair it with OnDisable
- Start | once before the first active frame | work that can wait for Scene objects | not for work needed on every enable
3. Cause → result illustration
Read the arrow direction, relative position, and symbol changes as a causal relationship. The explanation below names each step in text rather than relying on words inside the image.
- Load/Instantiate
- Awake (once)
- OnEnable (each enable)
- Start (once)
- Disable → OnDisable
- Enable → OnEnable
4. Sequence illustration
In Unity, open the Console and clear it before testing. Create a GameObject with LifecycleOrder, enter Play Mode to read the order, then exit Play Mode and use the Active checkbox to verify the enable/disable loop.
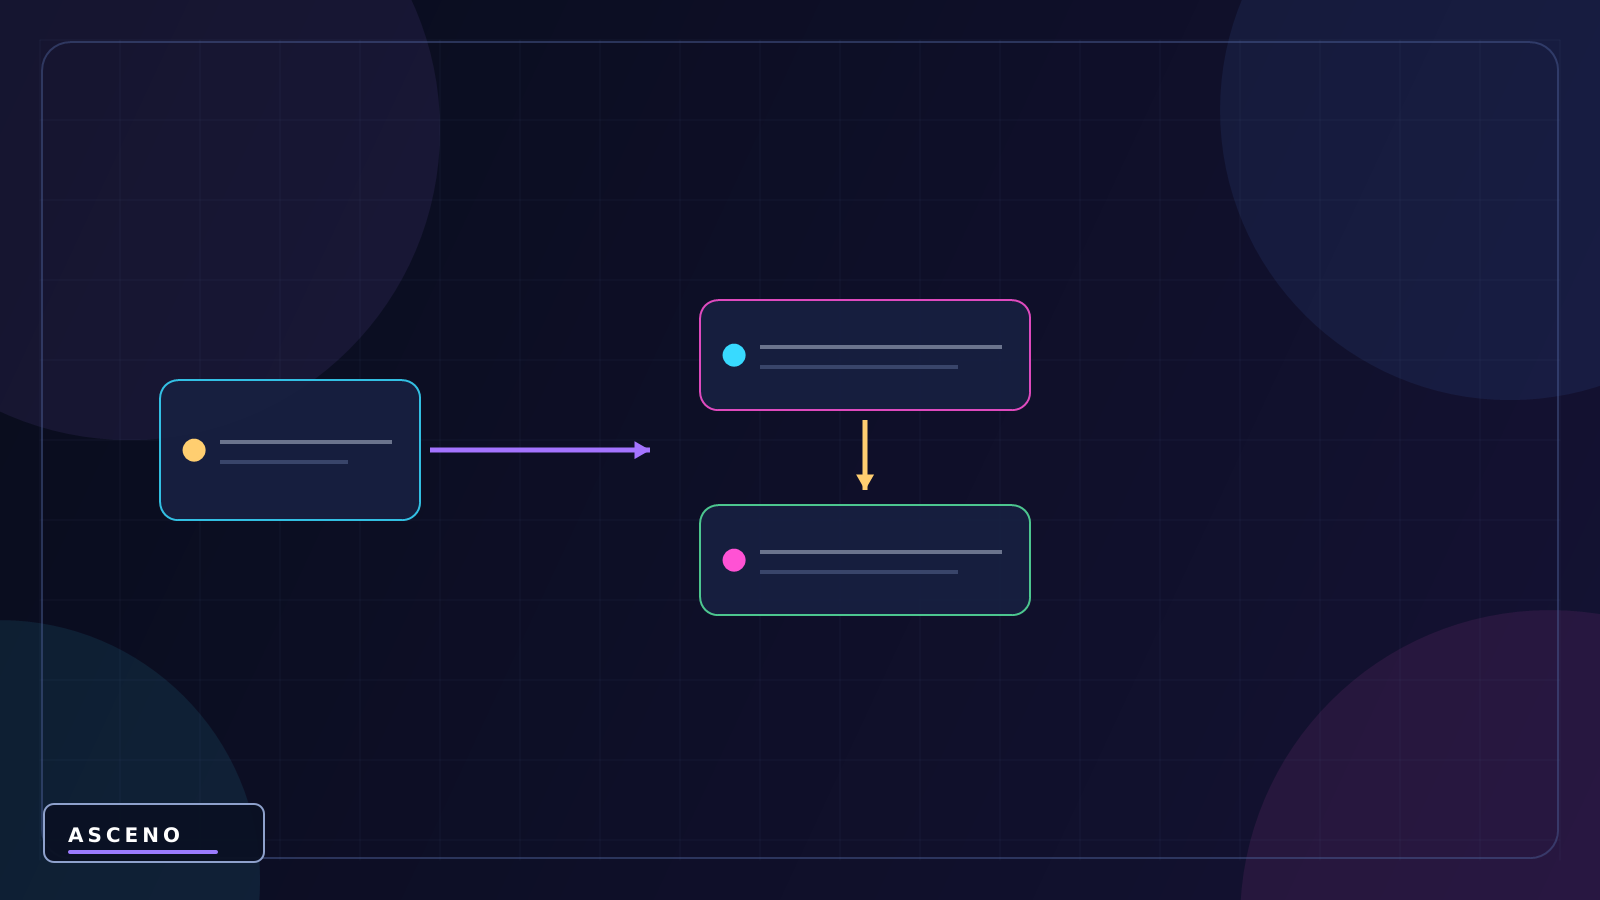
5. Object structure illustration
Read the object name in the Hierarchy first. If the name does not communicate its role, rename it in the test Scene; a screenshot is useful only when the reader knows what is selected.
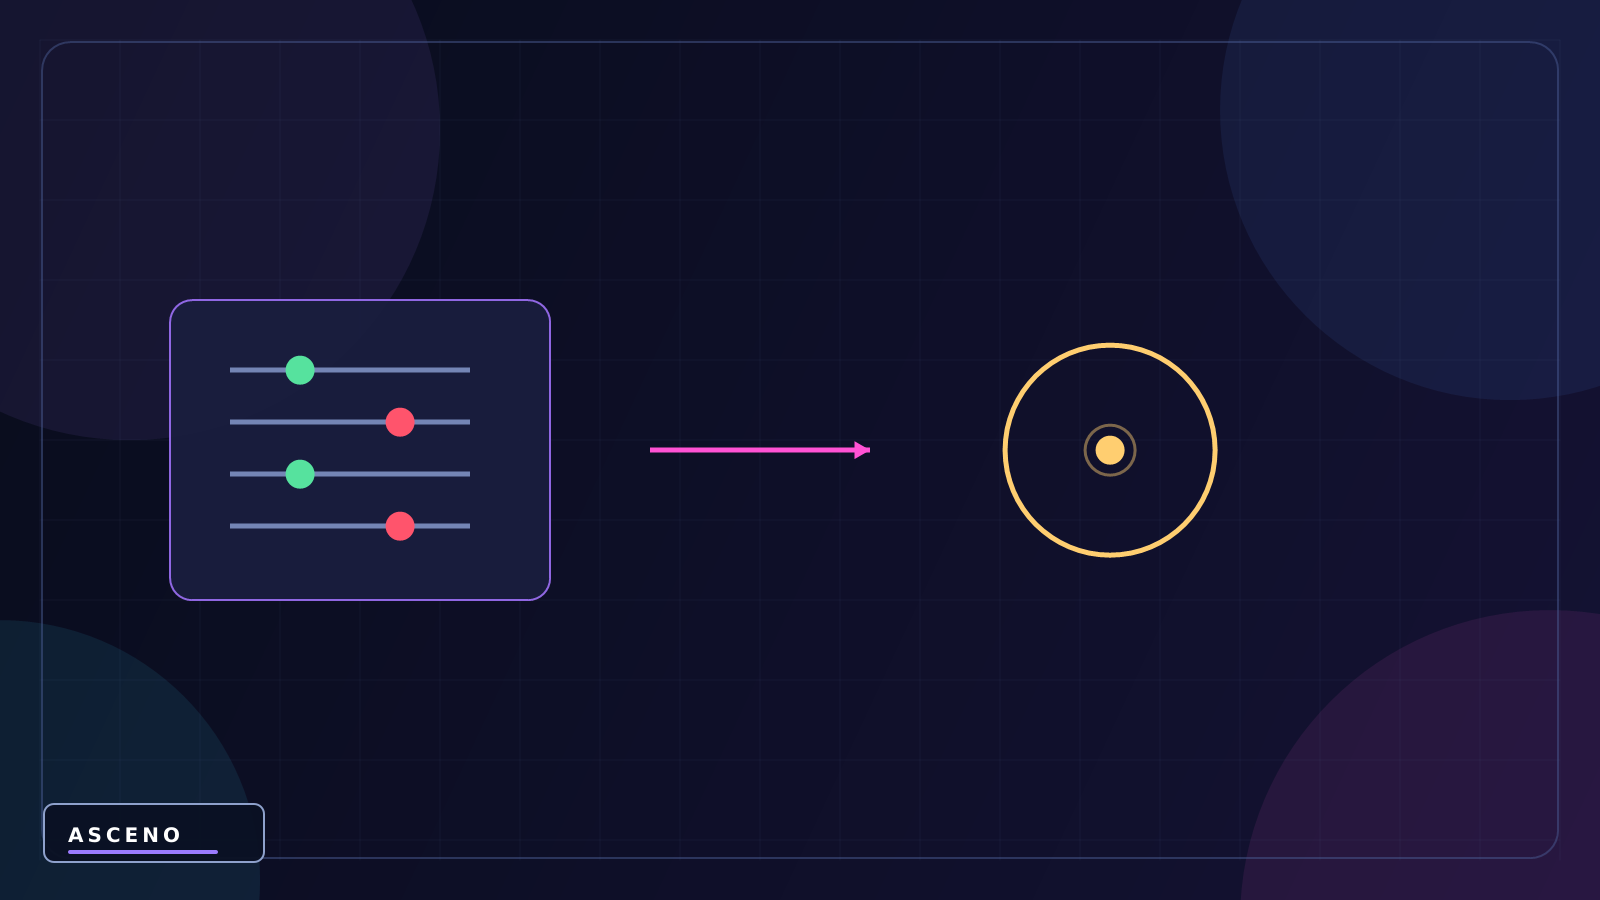
6. Configuration illustration
Select the GameObject with LifecycleOrder in the Hierarchy. The Inspector must show the attached script; if it does not, Unity has not compiled it or the file and class names do not match.
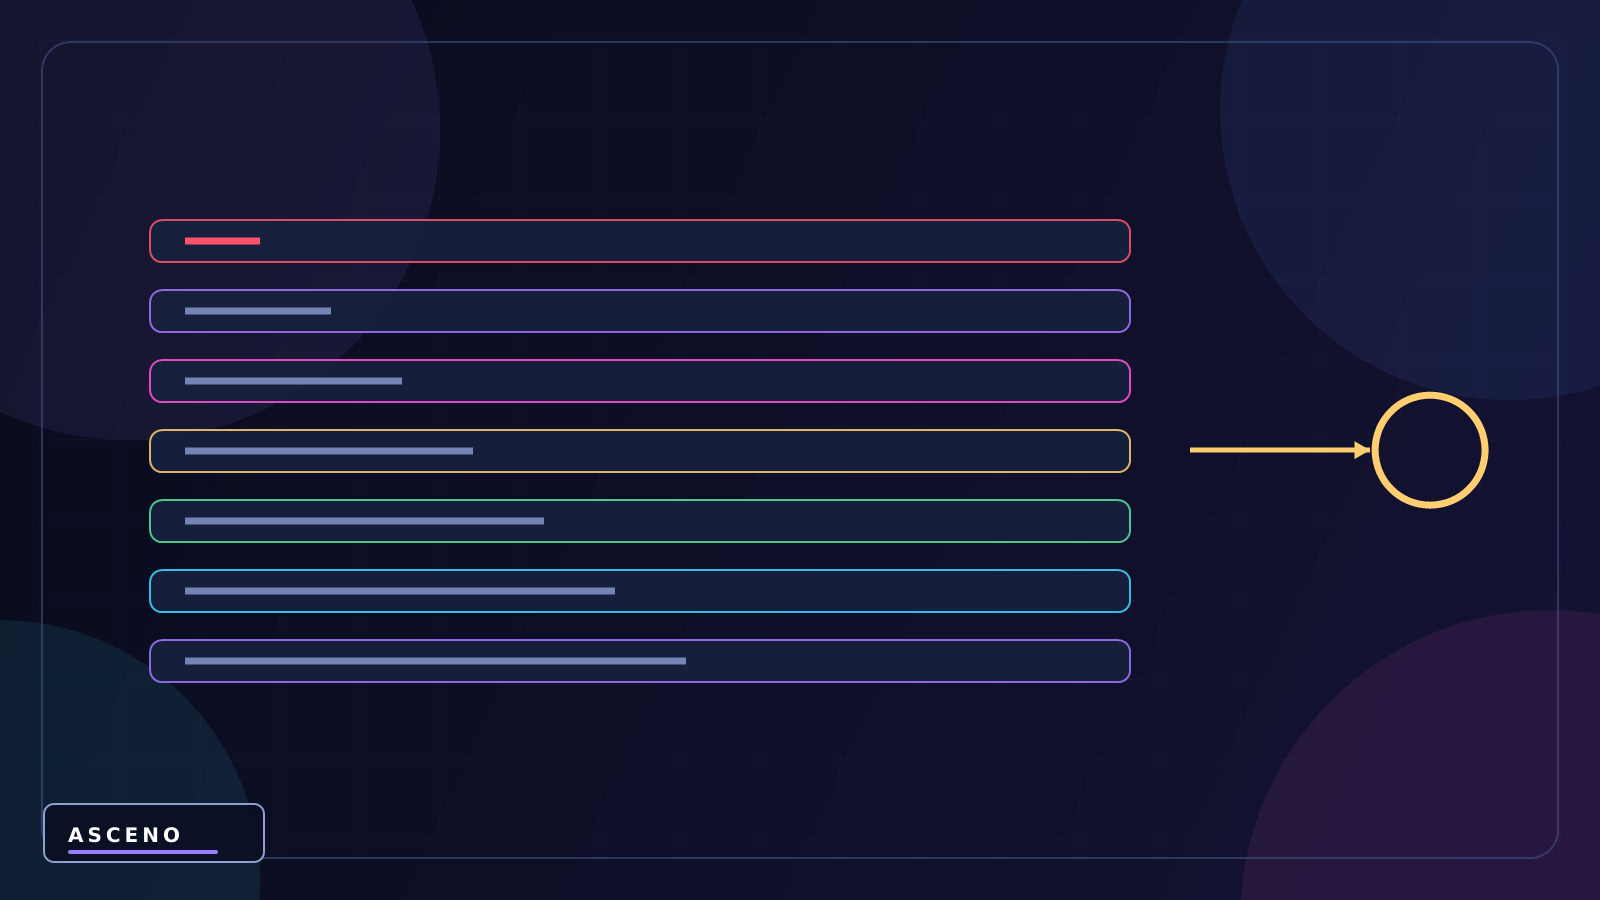
7. Result observation illustration
First run: Awake → OnEnable → Start. Disable the object: OnDisable. Enable it again: OnEnable. Awake and Start do not appear a second time; that observed log is the evidence for the distinction.
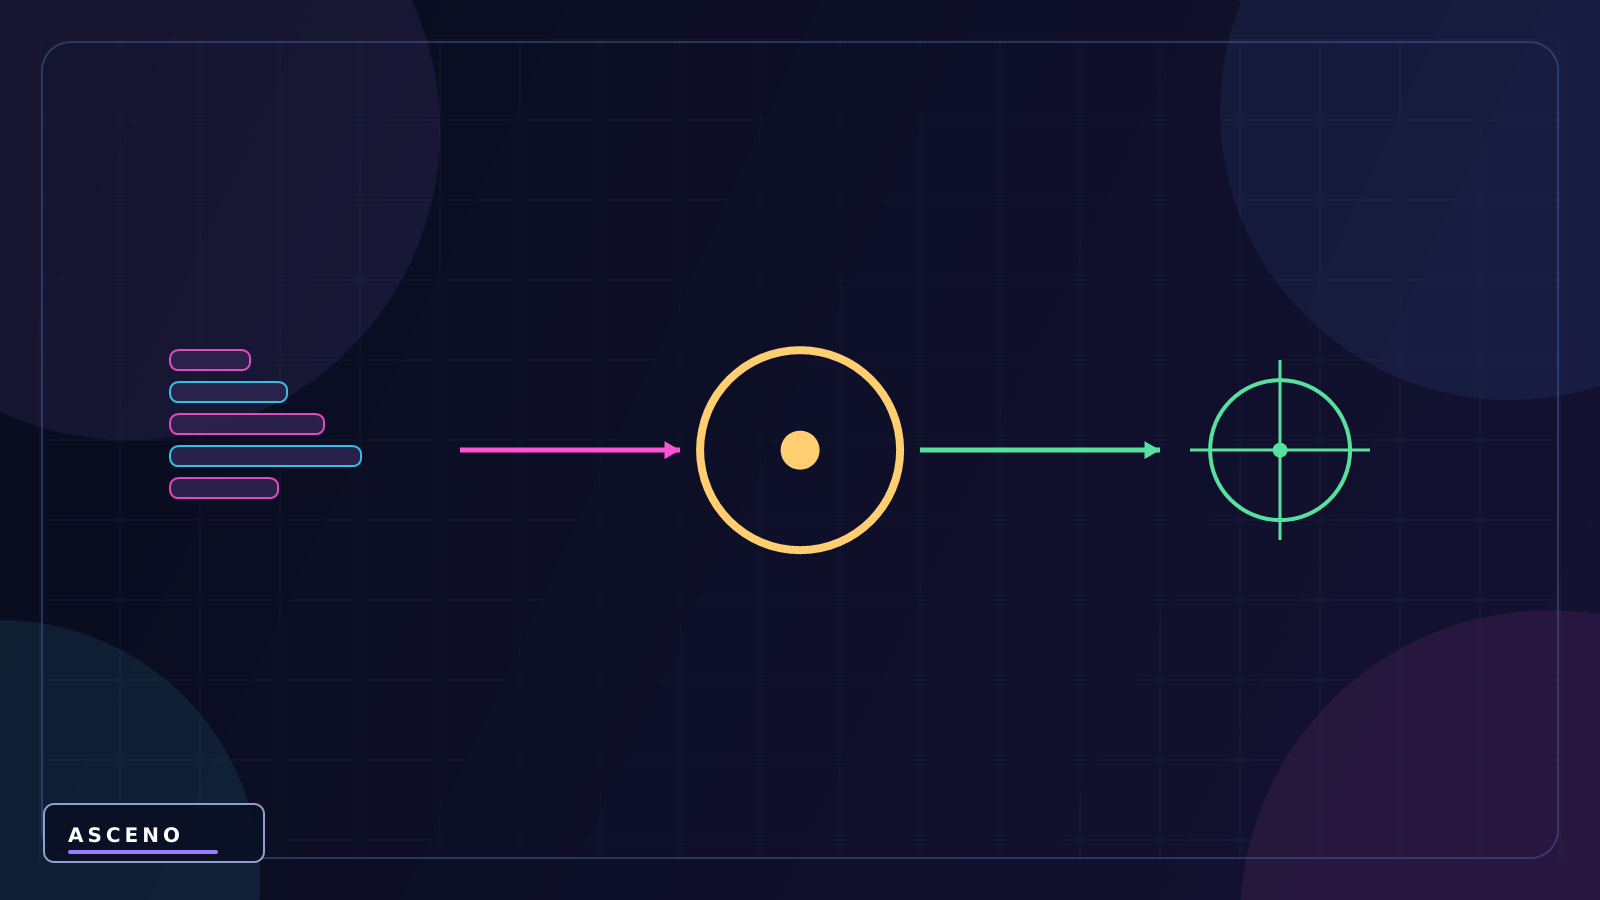
8. Code → state illustration
Do not copy code away from the Scene. Before each line, identify the input object/reference; after each line, identify the state or output that should change.
using UnityEngine;

public class LifecycleOrder : MonoBehaviour
{
    private void Awake() => Debug.Log("Awake");
    private void OnEnable() => Debug.Log("OnEnable");
    private void Start() => Debug.Log("Start");
    private void OnDisable() => Debug.Log("OnDisable");
}
9. Experiment illustration
The exercise toggles an object and logs the callback order. It leads to a practical rule: Awake for internal data, OnEnable for every enable, and Start for work that can wait until objects exist.
- Enter Play Mode and capture the three lines Awake, OnEnable, Start.
- Disable the GameObject during Play Mode, record OnDisable, then enable it again.
- Put a Debug.Log in OnEnable and verify it appears repeatedly while Start appears once.
- Subscribe to an event in OnEnable and unsubscribe in OnDisable to prevent duplicate handlers.
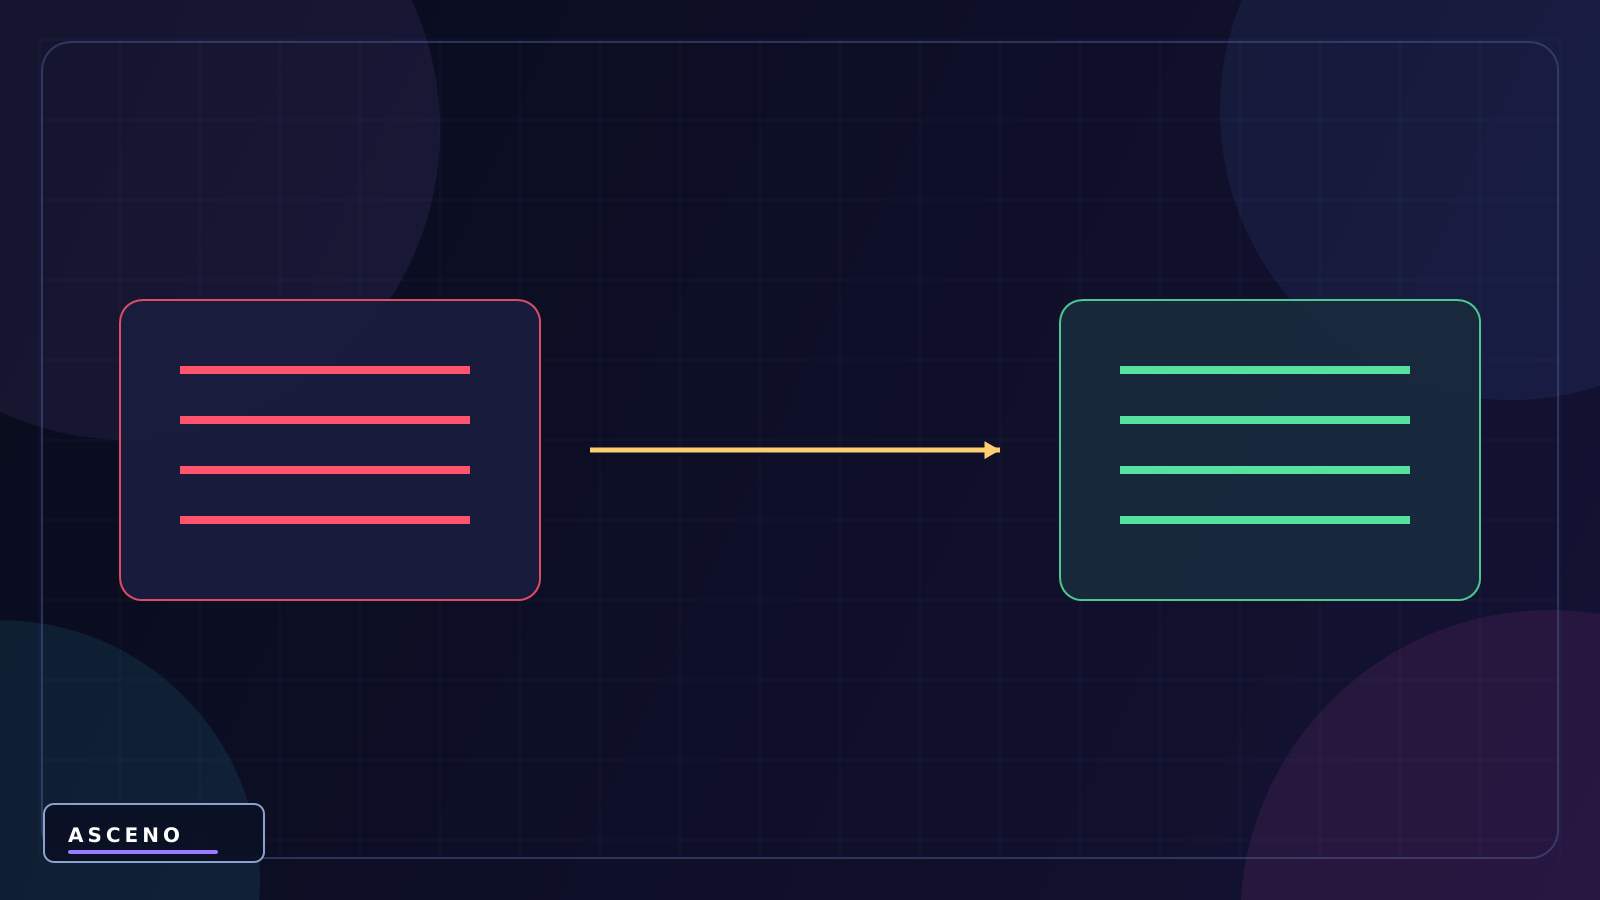
10. Failure → fix illustration
- Putting work that depends on another object in Awake before that object is ready.
- Subscribing in OnEnable but forgetting to unsubscribe in OnDisable.
- Assuming Start runs again every time the object is enabled.
- Not clearing the Console before a test and reading logs from the previous run.
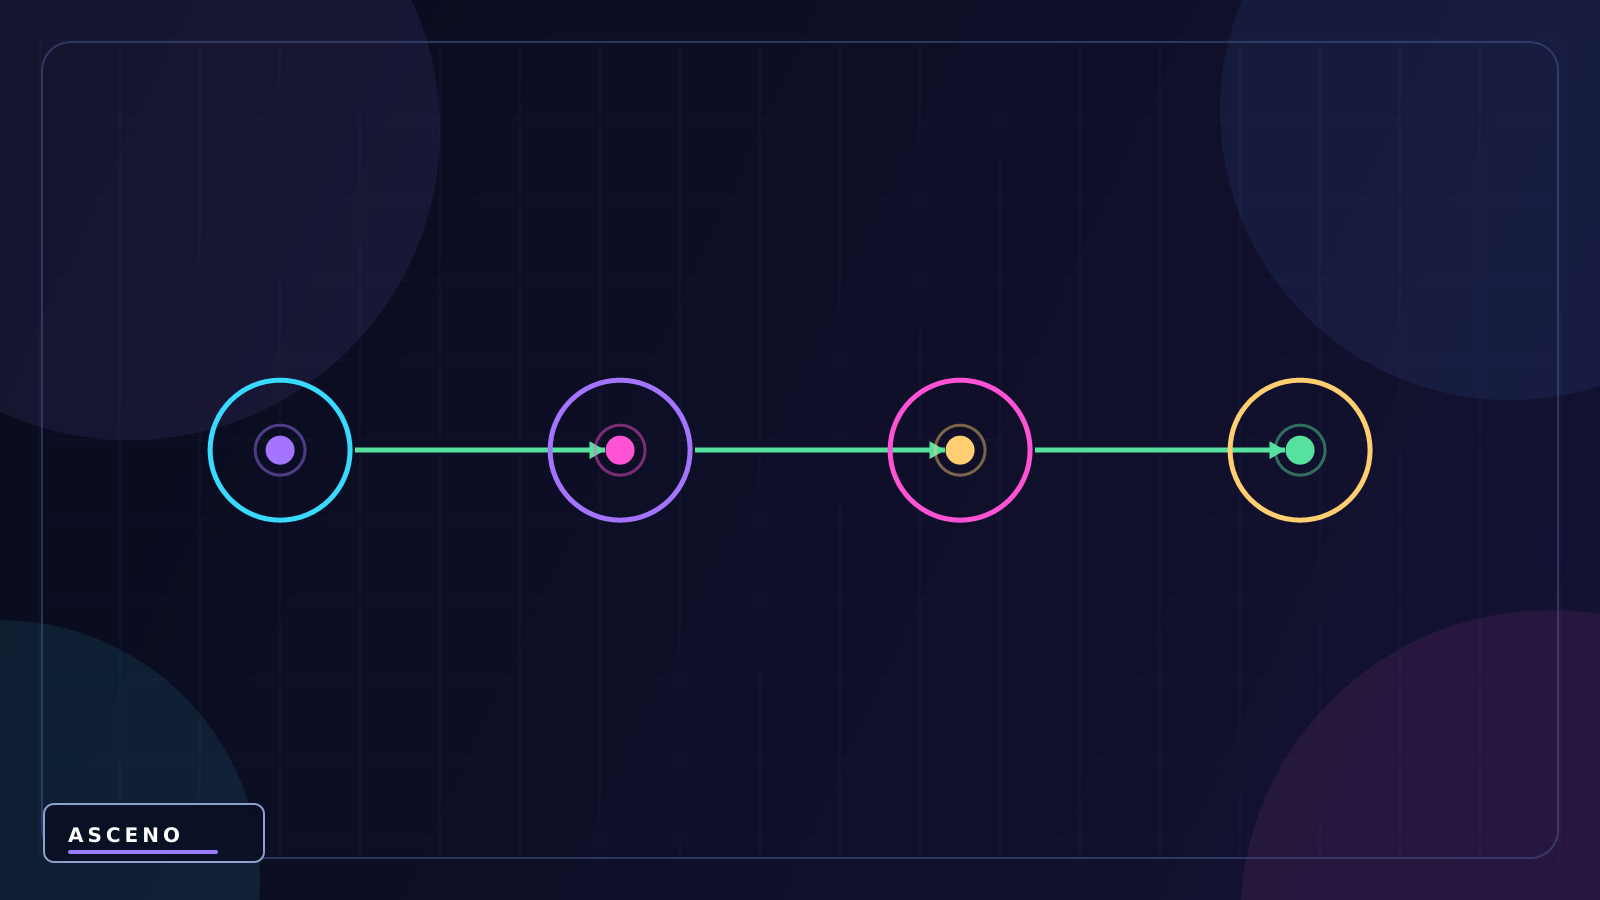
The ASCENO perspective: A good figure must help the reader answer one concrete question. If it does not show what to select, where to look, what to change, or where the result appears, it is not ready for documentation.